Installation
X-Plane and xPilot must be closed before installing or upgrading.
Download installation files respective for your computer’s operating system from the xPilot Release Page. The following screenshots are from Windows; however, the installation process will be the same for macOS and Linux.
Microsoft Edge Users
If you use Microsoft Edge, the download may get blocked. Follow these steps to unblock the download.
Microsoft Users
You may encounter a Windows Defender SmartScreen warning when trying to launch the installer. Simply click More info then click Run anyway

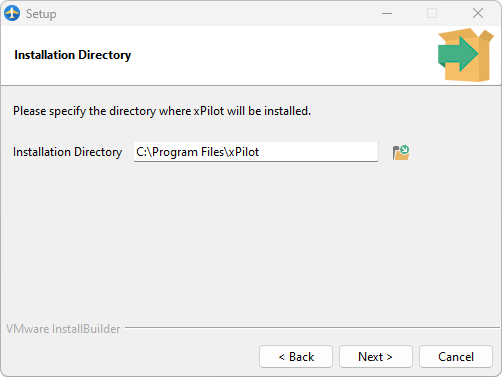
xPilot Client Install Directory
Choose a folder to install the xPilot client. It is recommended that you leave it as the default folder.
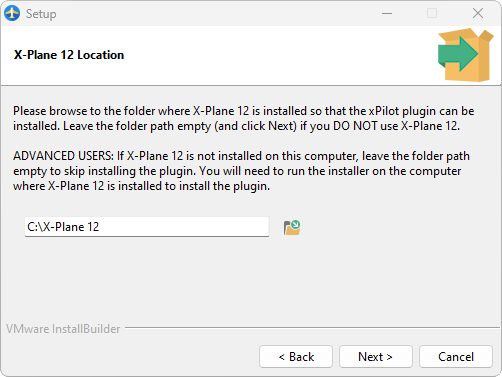
X-Plane 12 Location
Next, specify the root folder path of where X-Plane 12 is installed to install the xPilot plugin. If you do not use X-Plane 12, skip this step.
X-Plane 11 Location
Next, specify the root folder path of where X-Plane 11 is installed to install the xPilot plugin. If you do not use X-Plane 11, skip this step.
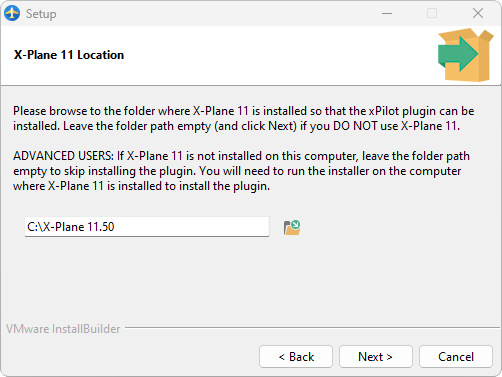
Advanced Users
If you have a multi-computer setup for X-Plane, you will need to run this installer on each computer to install the plugin on that X-Plane instance.
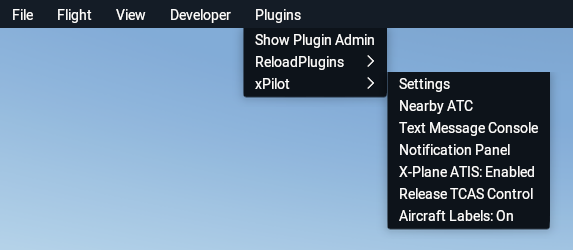
Now launch X-Plane and start a flight. If the xPilot plugin is installed correctly, you will see a new xPilot submenu under the X-Plane plugin menu.