Settings
To access the configuration settings of the xPilot client, click on the button. The window displayed below will appear. Before establishing a network connection, it is necessary to configure your VATSIM credentials. If you plan to utilize voice communications, configuring your microphone and listen device is also essential.
Push to Talk
To configure your Push to Talk (PTT) button, you need to set it within X-Plane. For detailed instructions on assigning your PTT, please refer to the Push to Talk configuration section.
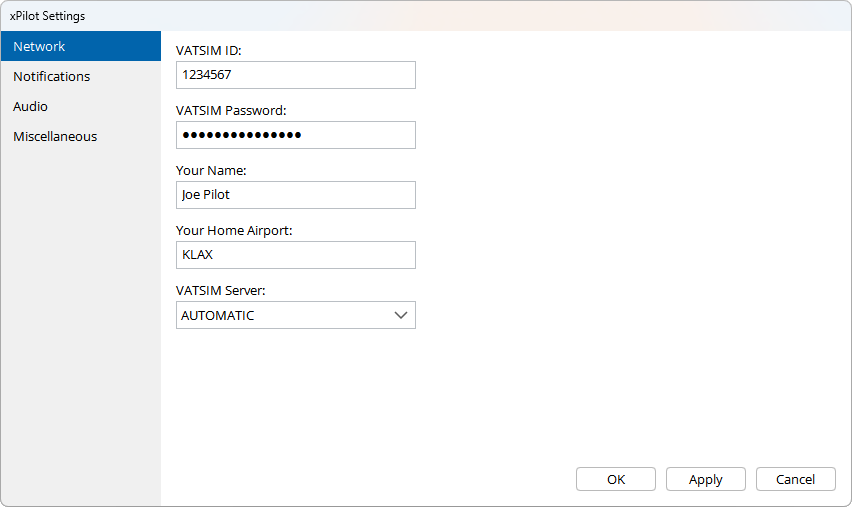
The VATSIM ID, VATSIM Password, and Name fields should be self-explanatory. The Home Airport field is optional; if completed, it will be displayed next to your name while connected to the network.
The Network Server dropdown menu provides only one option, “AUTOMATIC,” which helps to connect your xPilot session automatically to the best network server, taking into account your geographic location and server availability.
Notifications
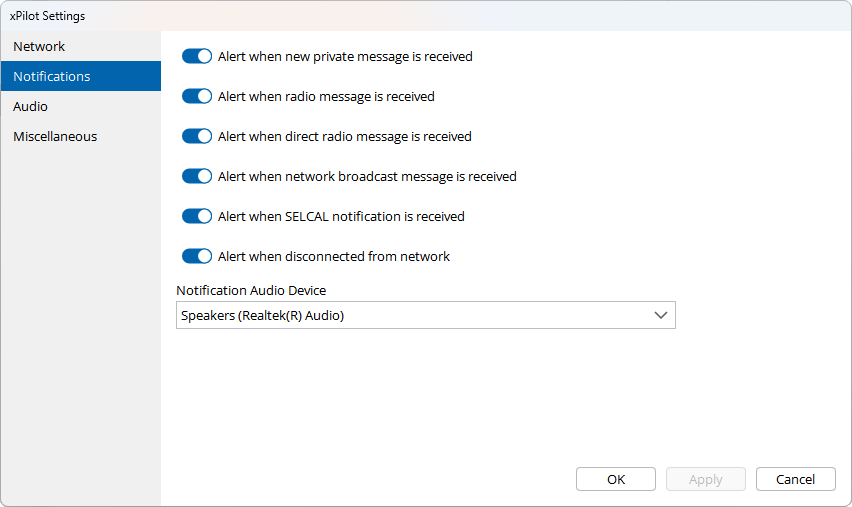
The options listed in the “Notifications” tab allows you to personalize which events will trigger aural sound notifications and cause the application icon in the system taskbar to flash or bounce to capture your attention.
The Notification Audio Device dropdown allows you to specify which audio device xPilot should use to play notification sounds. If no device is selected, xPilot will use the default system output device.
Audio
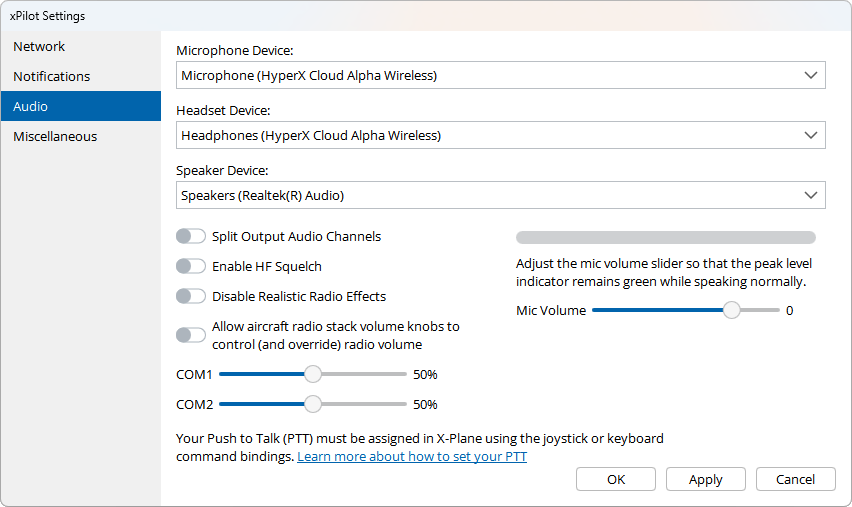
The Microphone Device is utilized for communication with VATSIM controllers. Whenever you modify your microphone device, it is necessary to recalibrate the microphone volume. You can adjust the volume of your microphone using the slider located below the Microphone Device list. Ideally, the calibration indicator should remain within the green zone when speaking at a normal volume. If the indicator consistently shows red, it is advisable to lower the volume slider.
The Headset Device and Speaker Device serves as the audio output devices for listening to voice transmissions from controllers and other pilots. You can configure xPilot to send all COM1 audio to your headset device and COM2 audio to your speaker device, or vice-versa.
If the Split Output Audio Channels option is enabled, COM1 and COM2 audio will be split into separate audio channels (COM1 will be routed to left channel – left ear, and COM2 will be routed to the right channel – right ear).
The audio device lists will automatically update if xPilot detects the removal or connection of an audio device.
You can also adjust the volumes for COM1 and COM2 here. Alternatively, you have the option to adjust the COM1 and COM2 volumes using the volume knobs on the aircraft’s radio panel.
Changes made to the radio volumes inside the aircraft will not be reflected in the volume sliders in xPilot settings, and vice versa. When you restart xPilot, the volumes will return to their previous levels as set by the volume sliders.
If the Allow aircraft radio stack volume knobs to control radio volume option is enabled, you can use the volume knobs in your aircraft to control the radio volume. This functionality is applicable as long as the aircraft you are flying utilizes the standard volume dataref; however, certain aircraft developers may use custom datarefs.
Radio Effects
If the Enable HF Squelch option is activated, the static white noise typically heard when tuned to an HF frequency will be eliminated. However, if you prefer a realistic HF frequency experience, it is recommended to keep this option disabled.
By checking the box labeled Disable Radio Effects, the incoming voice audio will not be filtered to replicate the sound of a VHF radio. Instead, it will resemble more of a VOIP call. Generally, it is advisable to leave this option unchecked to ensure that the audio maintains a realistic and authentic resemblance to real-world radios.
Miscellaneous
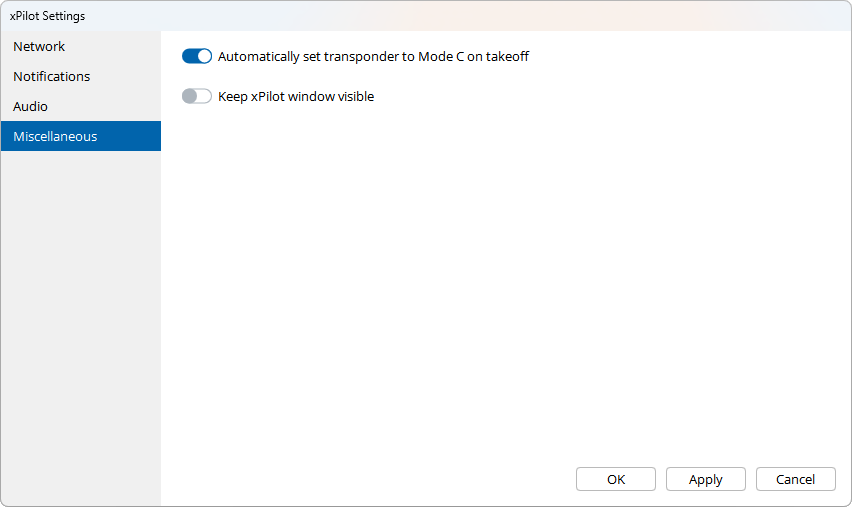
If the Automatically set transponder to Mode C on takeoff option is selected, your aircraft’s transponder will automatically switch to Mode C after takeoff.
If the Keep xPilot window visible option is selected, the xPilot client window will consistently stay visible, remaining on top of other windows.